Remote Control Setup for Wildgame Mirage 200lb Feeder: Mounting and Configuration Guide
The Wildgame Innovations Mirage 200lb feeder is a heavy-duty unit designed for serious deer managers, but its remote control setup can be tricky if not mounted correctly. This guide walks you through the precise mounting and setup steps to ensure your remote functions reliably in the field, saving you time and frustration during the off-season. Whether you are installing a new unit or troubleshooting an existing one, proper physical placement is the foundation of a consistent feeding schedule.
What Is the Best Mounting Location for the Remote Receiver?
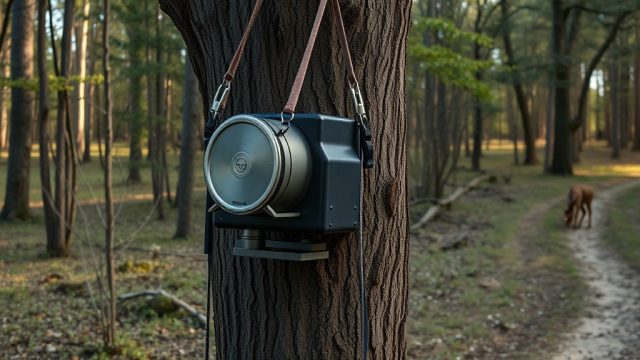
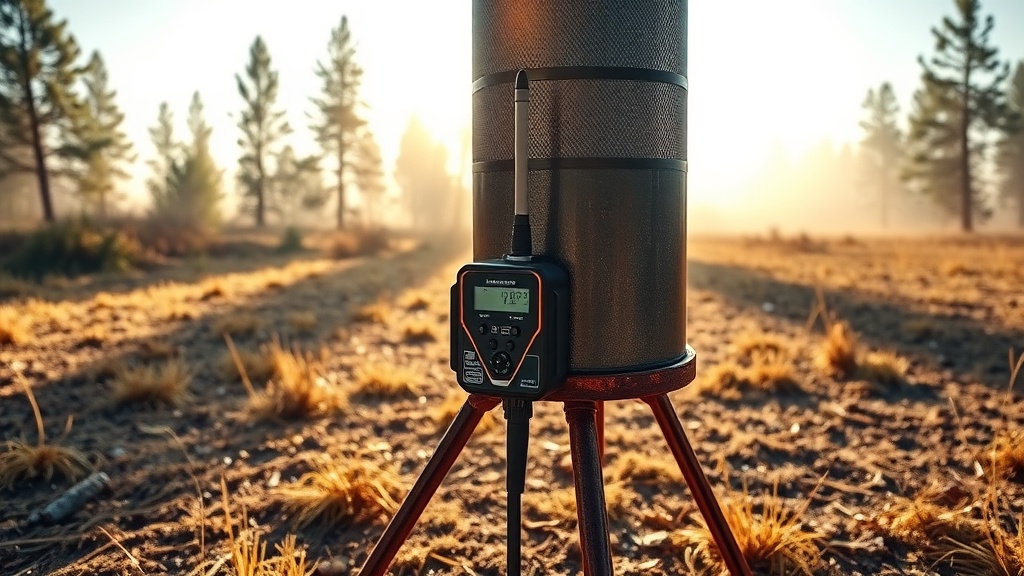
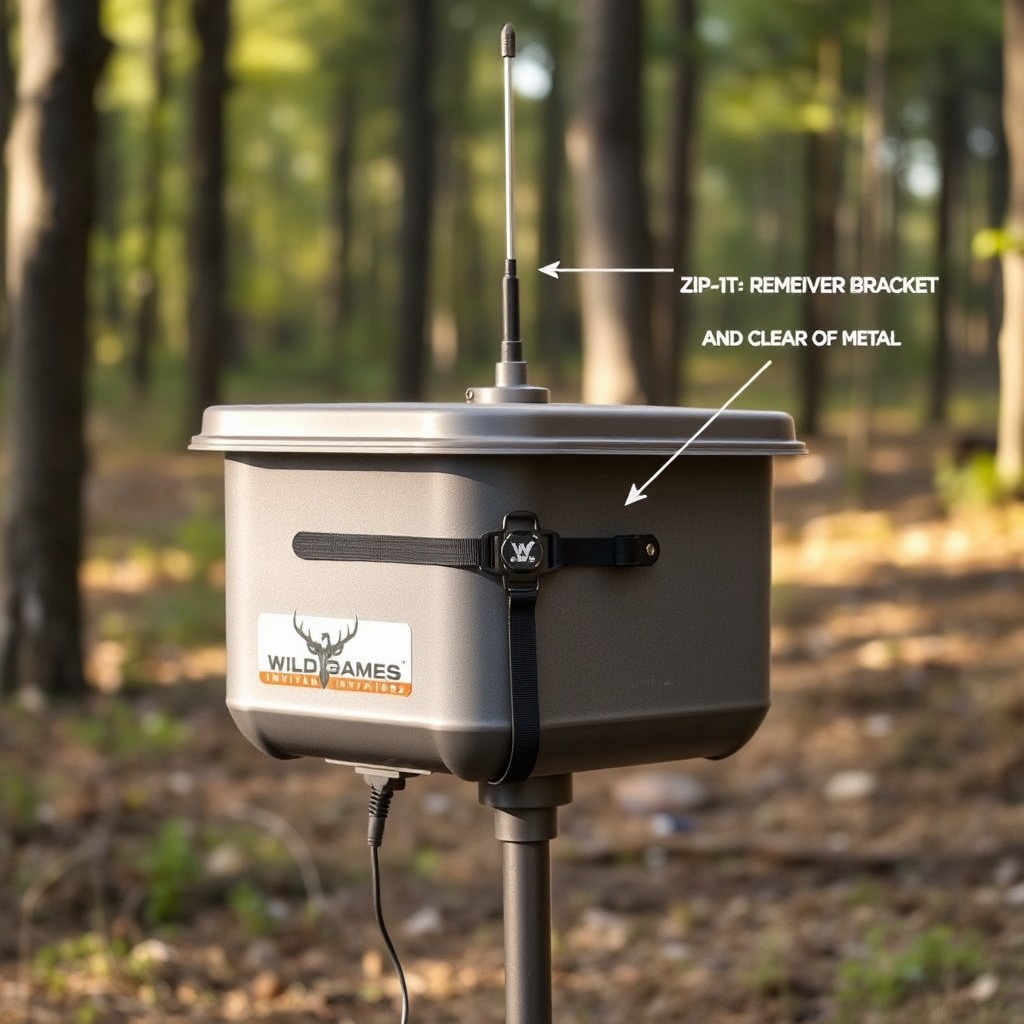
The receiver module on the Wildgame Mirage 200lb uses a whip antenna that needs a clear line of sight to the remote transmitter. Mount the receiver housing at least 3 feet off the ground on the feeder leg or on a nearby tree, facing the direction where you will most often stand to program the unit. Avoid mounting directly behind the motor housing or inside a metal box, as these materials can block the 433 MHz signal. If you have a metal feeder frame, attach the receiver to a wooden post or use a plastic extension bracket to isolate it from the metal.
Tip: For best results, mount the receiver so the antenna points straight up and away from any metal crossbars. The remote has a range of roughly 50 to 75 yards in open terrain.
How Do I Attach the Remote Control Bracket to the Feeder?
The Wildgame Mirage 200lb comes with a molded plastic bracket that holds the remote control unit and a battery compartment. Use the included zip ties to secure this bracket to a vertical feeder leg or a post located near the feeder. Do not mount the bracket on a horizontal surface, as rain can pool in the battery compartment and cause corrosion. After strapping the bracket, verify that the lid snaps shut firmly—this keeps moisture out and prevents accidental button presses from falling debris or wildlife.
If you are using the optional solar panel (sold separately), mount the bracket on the south-facing side of the feeder leg to maximize sun exposure throughout the day. For detailed instructions on connecting the panel, see our companion guide on Battery Life and Solar Compatibility: Wildgame Mirage 200lb.
What Tools and Hardware Are Needed for Setup?
Mounting the remote control setup requires minimal tools, but using the right ones prevents stripped screws and loose connections. Below is a table of recommended items and their approximate costs in US dollars.
| Item | Purpose | Estimated Cost (USD) |
|---|---|---|
| Phillips head screwdriver (size #2) | Tightening remote bracket screws and battery terminal screws | $8–$12 |
| Heavy-duty zip ties (12-inch, UV-resistant) | Securing receiver housing and bracket to feeder leg | $5–$8 (pack of 25) |
| Wire cutters or scissors | Trimming excess zip ties to prevent snagging | $6–$10 |
| Rubber mallet (optional) | Tapping the bracket into alignment on uneven legs | $15–$20 |
| Multimeter (optional) | Verifying battery voltage before final mounting | $20–$40 |
| Antenna extension cable (if range is insufficient) | Moving receiver away from metal interference | $10–$15 |
Note: The remote transmitter uses a 9-volt battery (not included). Always install a fresh alkaline battery to avoid power drops during programming.
How Do I Route the Wiring to Avoid Pinching and Weather Damage?
The wiring harness connecting the receiver to the feeder motor must be routed carefully along the feeder leg. Start by running the wire from the receiver module, through the built-in notch on the bracket, then down the leg using cable clips or adhesive wire mounts. Leave a small loop of slack near the motor junction to allow for slight movement from wind or animal bumps. Never staple wires tightly, as this can short the insulation over time. Secure the wire at least every 12 inches with UV-rated zip ties.
Seal each connection point (where wires join the motor) with dielectric grease and electrical tape to prevent moisture intrusion. For areas with heavy rain or snow, consider using heat shrink tubing over the tape. If you notice intermittent feeding behavior, check the wire routing first—pinched wires are the most common failure point in remote feeder setups.
What Are the Steps to Pair the Remote with the Receiver?
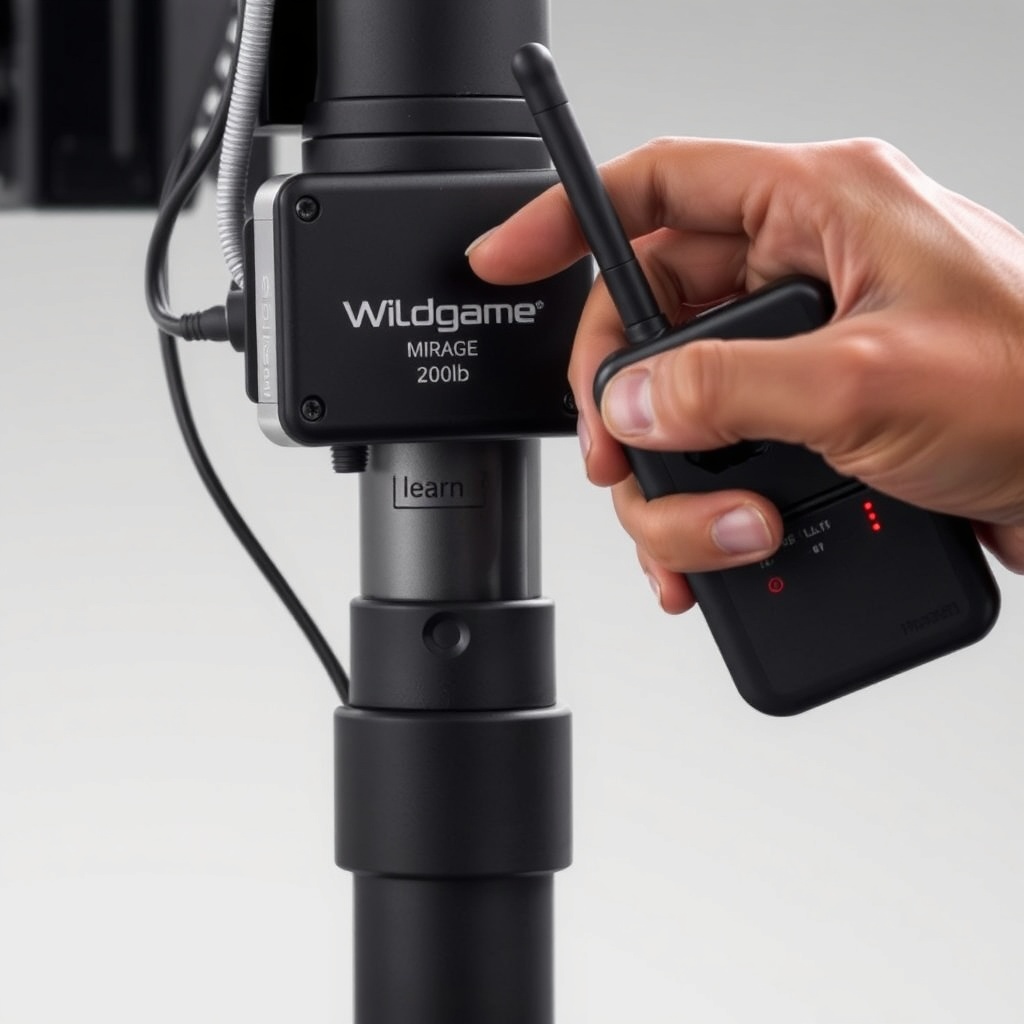
After mounting, you need to pair the remote transmitter with the receiver module. The Mirage 200lb uses a simple code-learning process. First, insert a fresh 9-volt battery into the remote. Then, locate the small “learn” button on the receiver (usually covered by a rubber plug). Press and hold this button until an LED blinks rapidly. Within 10 seconds, press the “Feed” button on the remote. The LED will turn solid for 2 seconds to confirm pairing. Test the connection by pressing “Feed” again—the motor should spin for the pre-set duration.
If pairing fails, repeat the process while holding the remote closer to the receiver (within 3 feet). For advanced timer adjustments after pairing, refer to our full guide on Programming Your Wildgame Mirage 200lb Feeder Timers. Always confirm the feeder is empty of corn during testing to avoid jamming the spinner plate.
How Do I Secure the Mounting Against Raccoons and Weather?
Raccoons are notorious for tampering with feeder remotes and batteries. The Mirage 200lb’s remote bracket has a locking tab, but many users add extra protection. Use a small padlock (up to 1/4 inch shackle) through the bracket’s built-in hasp to prevent theft or raccoon removal. Also, wrap the bracket and receiver in a weatherproof bag or use a silicone spray on the gasket to repel moisture. For a comprehensive strategy against persistent critters, read our article on How to Protect Wildgame Mirage 200lb from Raccoons.
In very windy areas, add an additional zip tie around the antenna base to keep it from whipping and breaking. Check the mounting brackets every 30 days during the feeding season, especially after storms, to ensure nothing has loosened.
What Owners Say About the Remote Control Setup
Deer hunters who own the Wildgame Mirage 200lb report that the remote control mounting is straightforward but requires careful attention to antenna placement. Many praise the bracket design for its ability to hold the remote securely against gusts and curious deer. However, several owners note that the receiver range can drop to 40 yards in dense woods, so mounting on an outer feeder leg rather than near the trunk improves performance. A common criticism is that the included zip ties are too short for thick steel legs; upgrading to 14-inch ties solves this issue quickly.
One buyer on a hunting forum stated that after moving the receiver from a metal leg to a wooden post, the remote worked flawlessly for the entire season. Others recommend using a small strip of electrical tape over the “Feed” button to prevent accidental activation from tree branches hitting the remote. Overall, the remote control setup is rated positively, with an average 4.2 out of 5 stars across major retailers for ease of installation.
Frequently Asked Questions
Q: Can I mount the remote receiver on a tree instead of the feeder leg?
A: Yes, mounting on a tree 2 to 3 feet from the feeder is a good strategy to avoid metal interference. Use long zip ties or a small strap to secure the bracket, and ensure the antenna points away from the trunk.
Q: What battery does the remote transmitter take?
A: The remote uses a standard 9-volt alkaline battery. Do not use rechargeable 9-volt batteries, as they deliver lower voltage and may fail to pair or operate at full range.
Q: The remote works sometimes but not others. What could cause this?
A: Intermittent issues often come from a loose ground wire inside the receiver housing, low transmitter battery, or antenna blocked by wet leaves. Check the wire connections first, then replace the remote battery. Bent antenna elements can also reduce range.
Q: Can I use the remote with a timer that is already programmed?
A: Yes, the remote control can override the timer for manual feeding without disrupting your automatic schedule. Just press “Feed” and the unit will dispense one spin-cycle without changing the timer settings.
Q: How do I reset the remote pairing if I buy a new receiver?
A: Press and hold the “learn” button on the new receiver for 10 seconds until the LED flashes rapidly, then press any button on the remote. Your existing remote will work with the new receiver without factory reset.
Q: Will the remote control work if I have the Wildgame Innovations Mirage 200lb Spin-Cast Review model?
A: Yes, the remote control setup is identical for both the standard spin-cast and the Mirage 200lb versions. The mounting instructions and pairing process are the same across the entire Mirage series.