
Why Would Anyone Want to Convert a Proven Spin-Cast Feeder to Gravity Feed?
Many hunters purchase the BuckGuide 300lb Spin-Cast Feeder for its programmable digital timer and broadcast-spread capabilities, but they don’t always need the motorized spinning plate. Situations arise—a dead battery in freezing weather, a faulty motor, or a desire for whisper-quiet nighttime feeding—where a simple gravity feed system makes more sense. Converting your motorized feeder to a gravity drop setup can extend its usefulness without buying a whole new unit, especially when you already own the rugged 300-pound hopper and legs.
This guide walks through the exact steps to transform your BuckGuide 300lb Spin-Cast Feeder from a timed spinner into a reliable gravity dispenser. Rather than discarding the feeder or dealing with expensive repairs, you can complete this conversion with basic tools in under an hour. The result is a feeder that releases corn or protein pellets each time an animal nudges the tray, perfect for year-round mineral or free-choice feeding.
What Tools and Parts Are Required for the Gravity Conversion?
Before starting, gather everything on the list. The conversion essentially removes the motor, spinner plate, and digital timer, replacing them with a simple drop tube and tray mechanism. You will not need special electronic skills, just mechanical aptitude.
- BuckGuide 300lb gravity conversion kit (available from the manufacturer or aftermarket suppliers for roughly $45–$65). This includes a drop tube, adjustable gate, and mounting brackets.
- Flathead and Phillips screwdrivers
- 5/16-inch socket wrench (for removing the motor mounting bolts)
- Wire cutters or diagonal pliers
- Heavy-duty utility knife
- 3/8-inch drill and bit (if new screw holes are needed for the bracket)
- Safety glasses and gloves
If you prefer to build your own gravity system, you can use a 4-inch PVC pipe section and a standard feed trough. However, the conversion kit ensures a proper seal that keeps out rodents and rain.
How Do You Disassemble the Spin-Cast Mechanism Safely?
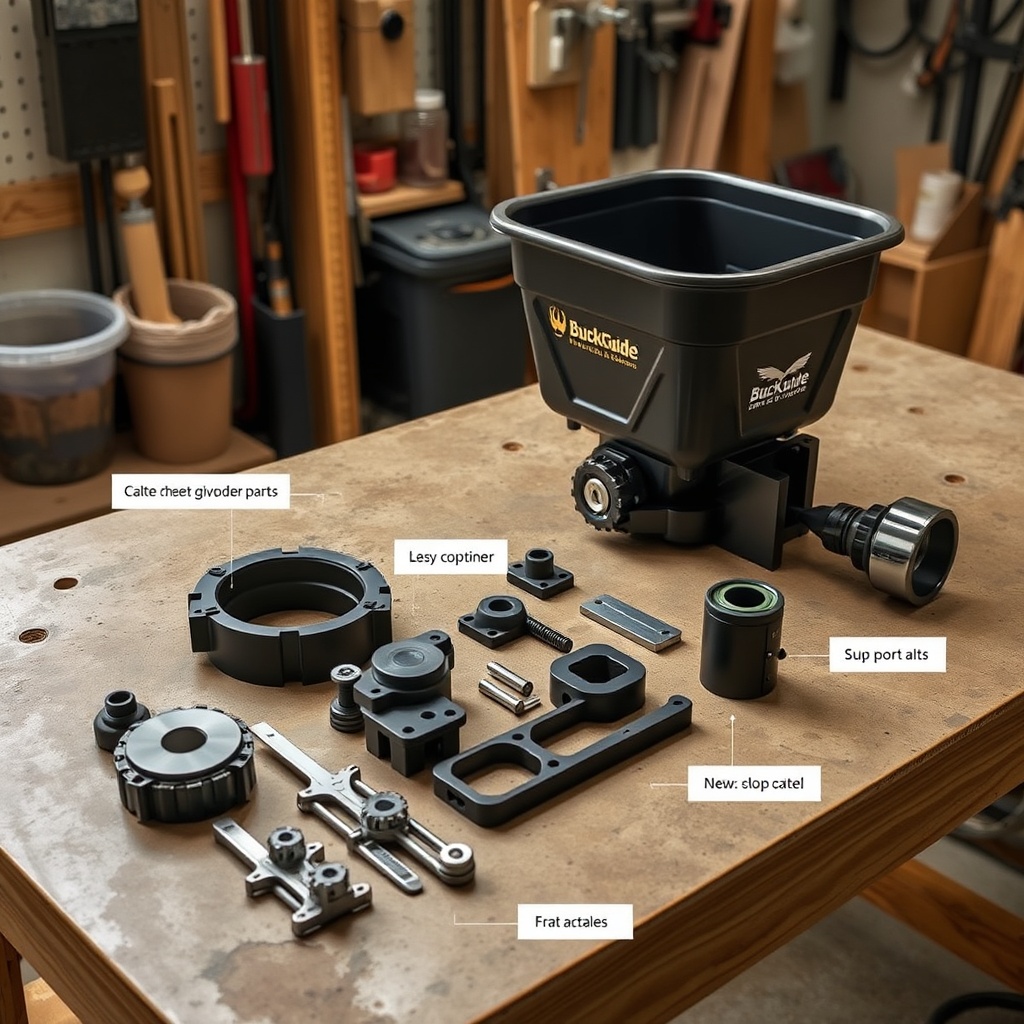
The spin-cast assembly sits on the bottom of the hopper. Begin by unplugging the battery from the control unit and removing the digital timer from its housing. If you are unsure of the wiring steps, the Digital Timer Setup for BuckGuide 300lb Spin-Cast Feeder article illustrates the electrical disconnection sequence in detail. Safety first: disconnect the solar panel lead as well to avoid any unexpected motor activation.
- Remove the spinner plate: Use a Phillips screwdriver to take off the four screws holding the clear acrylic or metal spinner plate. Set the plate and screws aside (you may need them later if you reconvert).
- Detach the motor housing: The motor unit is held by four bolts on the underside of the hopper. Use the 5/16-inch socket wrench to remove them. Lift the motor and its plastic shroud away gently—there may still be residual feed inside.
- Disconnect wiring: Clip the wire ties holding the motor wires to the hopper leg. Then cut the wires leading to the motor leaving about 2 inches of slack on the controller side. Cap the exposed ends with wire nuts to prevent short circuits in wet weather.
- Remove the controller box: Unscrew the digital timer from its bracket. You now have a completely stripped hopper bottom.
At this point, your BuckGuide 300lb Spin-Cast Feeder resembles an empty barrel with four legs. The entire spin-cast assembly can be stored for future use—perhaps as a backup when you need the Motor Replacement Guide for BuckGuide 300lb Spin-Cast Feeder.
How Do You Install the Gravity Feed Drop Tube and Tray?
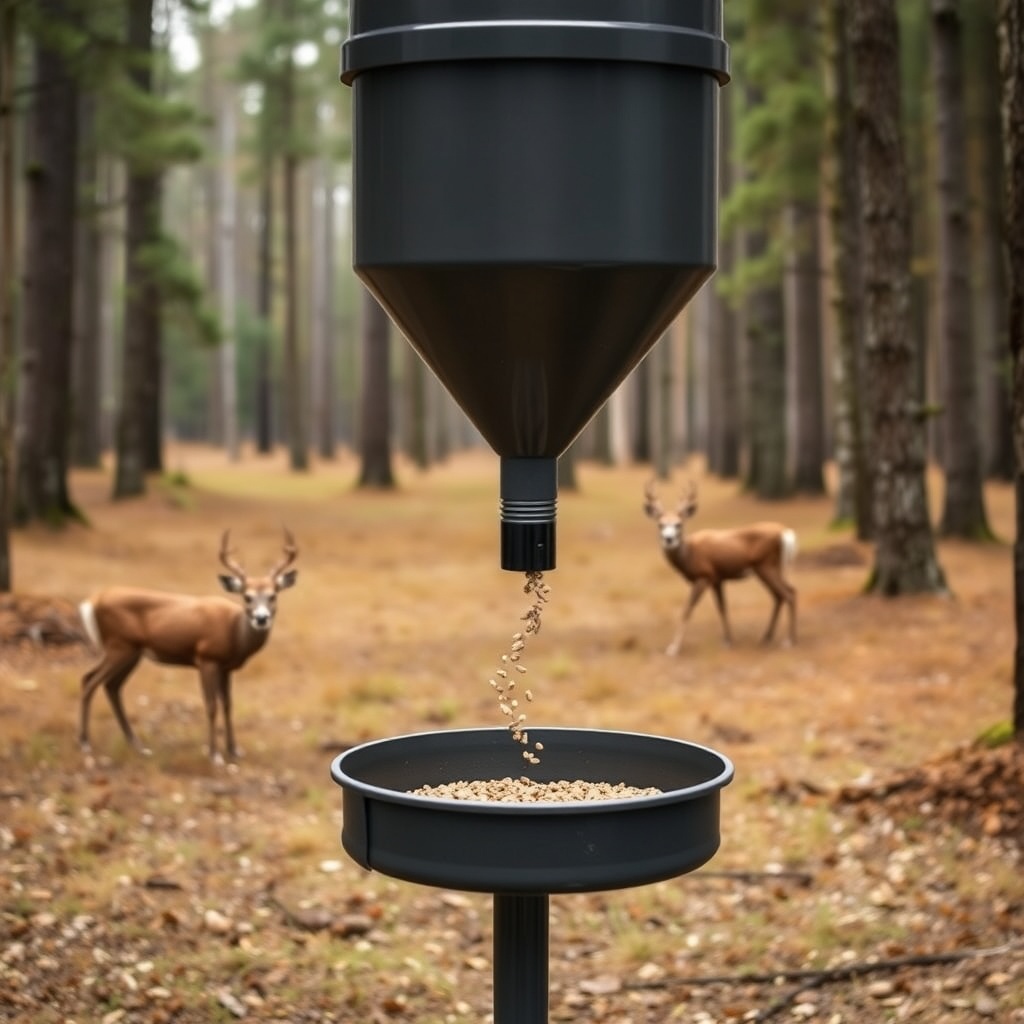
With the spin-cast parts removed, the bottom of the hopper now has a large circular opening. The conversion kit includes a flanged collar that fits this opening perfectly. This step turns your feeder into a passive dispenser.
- Attach the collar: Place the rubber gasket over the opening, then set the metal flanged collar on top. Secure it with the provided bolts and lock washers. Tighten evenly to avoid warping the thin hopper metal.
- Mount the drop tube: The tube slides into the collar and locks with a rotating twist or a setscrew. This tube extends downward about 6 to 10 inches, depending on the kit.
- Install the adjustable gate: Most kits include a sliding gate inside the drop tube. By moving this gate up or down, you control the feed flow rate—from a trickle for protein pellets to a steady stream for whole corn.
- Attach the feed tray: The tray brackets clamp around the drop tube. The tray itself is a trough-shaped metal pan about 12 inches wide. Adjust its angle so that gravity pulls feed smoothly from the tube into the tray.
A common mistake is setting the gate too wide, which causes feed to clog. Start with a 1/4-inch opening and test. For deer, a slow flow works best—they return frequently to clean the tray.
What Modifications Are Needed for the Battery and Solar Panel?
Since the gravity conversion eliminates the motor, the battery and solar panel become redundant for powering the feeder. However, many owners leave the solar panel in place to trickle-charge a battery that powers a game camera or a LED light. If you want a fully passive, no-battery system, you must remove the solar panel mounting bracket from the hopper lid.
Disconnect the solar panel from the charge controller. Unscrew the panel bracket, and fill the two small screw holes with silicone sealant to prevent rain entry. You can repurpose the panel for other uses, such as charging a battery for a remote camera; check the Winter Performance of Solar Panels on BuckGuide 300lb Spin-Cast Feeder article for tips on salvaging the panel for low-light conditions.
If you prefer to keep the battery compartment empty, simply remove the battery and close the lid. The gravity feed does not require electricity, so the feeder becomes completely self-sufficient. This is particularly useful for remote stands where you cannot regularly check power levels.
How Do You Test and Calibrate the Gravity Feed Flow?
Once assembled, fill the hopper with 50 to 75 pounds of corn to test the system. Do not fill it to the 300-pound capacity immediately; a lighter load lets you see if the gate setting is correct without risking a massive spill. Stand back and observe.
| Gate Opening | Feed Type | Flow Rate (pounds/hour) | Avg. Deer Visits per Day |
|---|---|---|---|
| 1/8 inch (3 mm) | Whole corn | 0.5–0.8 | 4–6 |
| 1/4 inch (6 mm) | Whole corn | 1.2–1.8 | 3–5 |
| 3/8 inch (10 mm) | Protein pellets | 2.0–3.5 | 2–3 |
| 1/2 inch (12 mm) | Mixed grain | 4.0–5.5 | 1–2 |
If the feed jams, tap the drop tube gently with a rubber mallet—this often breaks the bridge. For persistent clogging, reduce the gate opening. If you notice raccoons or hogs spilling the tray, you can add a small cage around the tray using welded wire; the kit does not include this, but it is a common modification.
What Owners Say After Converting Their BuckGuide 300lb Feeder
Hunters who have performed this conversion share consistent feedback. On the BuckGuide forums and in private groups, owners report that the gravity feed system eliminates battery and timer headaches, especially during the cold months. One Pennsylvania hunter said, “I converted my spin-cast during a snowstorm when the motor froze. The gravity setup kept corn flowing for three weeks straight. Only had to refill once.”
A Texas land manager notes that the converted feeder allowed him to offer free-choice protein without noisy timer activation, which seemed to make the deer more comfortable at the site. Several owners appreciate that they can reconvert back to spin-cast in about twenty minutes if needed. “It’s like having two feeders in one,” says an Alabama deer manager. “When I want timed feed, I swap back the motor. But most of the year, I leave it in gravity mode.”
Potential drawbacks mentioned include the need for a more frequent fill schedule because gravity systems sometimes dispense more than intended if the gate is too wide. Also, the tray may need occasional cleaning to prevent mold in wet climates. Overall, the conversion receives high marks for simplicity and reliability.
Frequently Asked Questions
Q1: Will the BuckGuide 300lb Spin-Cast Feeder warranty be voided by the conversion?
A: Yes, removing the motor and timer voids the original manufacturing warranty. However, if you keep the removed parts, you can always reinstall them if needed. The conversion kit itself often comes with a separate 1-year warranty.
Q2: Can I convert back to spin-cast after the gravity mod?
A: Absolutely. The conversion is reversible. You will need to reinstall the motor, spinner plate, and digital timer. Follow the instructions in the BuckGuide 300lb Spin-Cast Feeder Remote Control Range Test and Setup guide to verify operation afterward.
Q3: Does the gravity feeder work with protein pellets as well as corn?
A: Yes. Protein pellets flow well through a 3/8-inch gate opening. For smaller pellets, you may need to widen the gate slightly. The drop tube diameter (typically 4 inches) prevents bridging for most formulations.
Q4: Will the gravity feed system attract raccoons or birds?
A: It can. Raccoons often reach into the tray. To reduce this, install a weight-sensitive tray that closes when a heavy animal stands on it. Some owners simply add a metal ring around the tray. The Remote Control Troubleshooting for BuckGuide 300lb Spin-Cast Feeder article discusses how to integrate a motion sensor that works with a camera, but this is an aftermarket modification.
Q5: How often must I refill the 300-pound hopper in gravity mode?
A: It depends on your gate setting and the number of animals. With a 1/4-inch opening and moderate deer traffic (4–5 deer per day), you might refill every 10–14 days. For heavy traffic or a wide opening, refilling weekly is common.
Q6: Can I use a gravity conversion if my BuckGuide 300lb feeder has a different leg style?
A: The conversion kit is designed to fit the standard BuckGuide 300lb hopper bottom, regardless of leg configuration (tripod or quad-leg). The mounting points are universal. For custom leg setups, you may need to drill new holes. Refer to the How to Convert Your BuckGuide 300lb Spin-Cast Feeder to a Gravity Feed System guide for specific leg compatibility.