

Why Does the Motor on My BuckGuide 300lb Spin-Cast Feeder Fail?
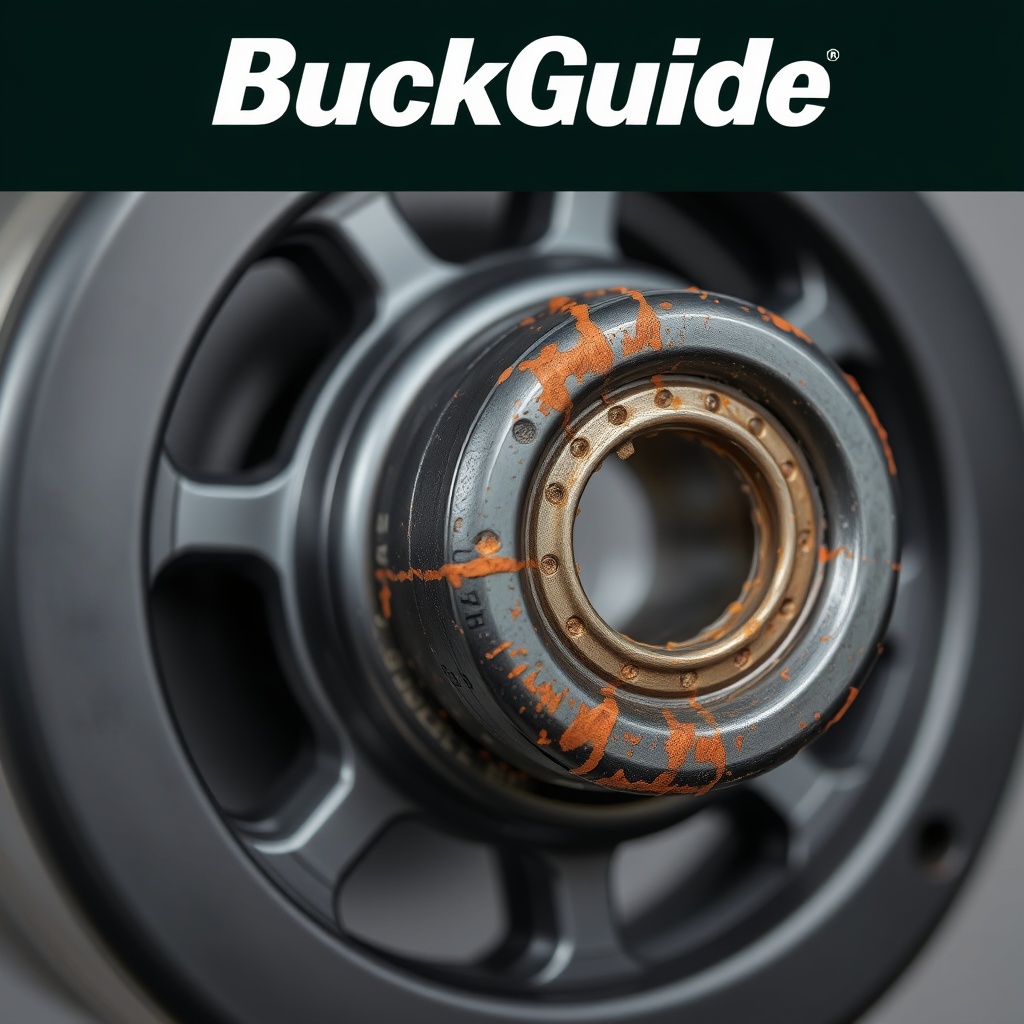
The motor is the heart of the BuckGuide 300lb Spin-Cast Feeder, responsible for spinning the throwing plate that broadcasts feed. Most motor failures stem from moisture ingress, physical obstruction, or prolonged wear. When a motor goes bad, the feeder either hums without spinning, spins erratically, or remains silent. Recognizing the early signs—such as a sluggish start or a high-pitched whine—can prevent complete breakdown during the critical feeding season.
Common causes include seized bearings due to rust, a burnt-out winding from voltage spikes, or a broken shaft from a jammed impeller. Before replacing the motor, always check the digital timer programming tips to rule out timer faults that mimic motor failure.
What Tools and Parts Do I Need for the Replacement?
Replacing the motor on a BuckGuide 300lb Spin-Cast Feeder requires specific tools and a compatible replacement motor. The OEM motor uses a 12V DC brushed unit rated at 8–10 RPM with a 1/4-inch shaft. Below is a comparison table of the original vs. common aftermarket options:
| Specification | OEM BuckGuide Motor | Aftermarket Compatible (e.g., Moultrie) |
|---|---|---|
| Voltage | 12V DC | 12V DC |
| Rotation Speed | 8–10 RPM | 8–12 RPM |
| Shaft Diameter | 1/4 inch (6.35 mm) | 1/4 inch (6.35 mm) |
| Shaft Length | 1.25 inches | 1.25–1.5 inches |
| Mounting Hole Pattern | 2.5-inch center to center | 2.5-inch center to center |
| Typical Price | £24.99 | £18.99–£29.99 |
Tools you will need: a Phillips-head screwdriver, a 10mm socket wrench (for the motor mount bolts), needle-nose pliers, dielectric grease, and a multimeter for voltage checks. Purchase the motor from a reputable dealer to avoid counterfeit units that may draw excessive current and damage the timer board.
How Do I Safely Remove the Old Motor?
Start by disconnecting the battery from the feeder to eliminate any electrical hazard. Remove the lid and take out the feed canister—the BuckGuide 300lb holds a full 300 pounds, so empty it or tilt it carefully. The motor is housed inside the lower unit, behind the spin casting plate. Unscrew the three or four Phillips head screws that secure the plastic housing cover. You will see the motor mounted on a bracket with two 10mm bolts, wired to the timer board with spade connectors.
Follow these steps in order:
- Use needle-nose pliers to disconnect the positive (red) and negative (black) wires from the timer board. Take a picture or label them to avoid reversal.
- Remove the motor mounting bolts using the 10mm socket wrench. The motor is often held by two bolts; keep the washers.
- Slide the motor out of the bracket. If the shaft is stuck to the impeller (spin plate), gently twist it while pulling.
- Inspect the old motor—if the shaft turns freely but the motor does not run with 12V applied, it is electrically failed. If the shaft is seized, the bearings are gone.
Dispose of the old motor per local e-waste guidelines. Never toss it in regular trash because copper windings are recyclable.
What Is the Step-by-Step Installation Process for the New Motor?
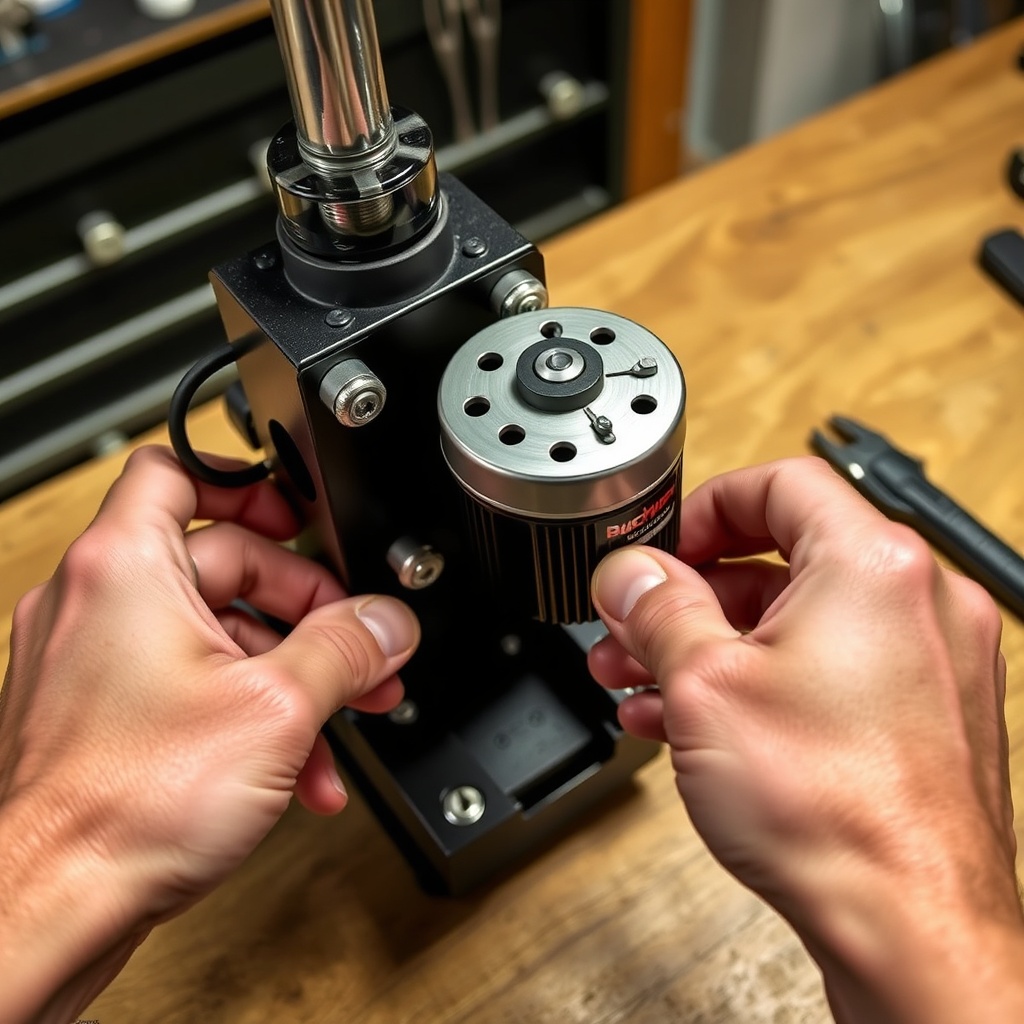
Before installing the new motor, apply a thin layer of dielectric grease to the shaft where it meets the impeller—this prevents future rust seizing. Slide the replacement motor into the mounting bracket. Align the mounting holes exactly with the bracket. Insert the 10mm bolts and washers and tighten to a snug fit—do not overtighten because the plastic bracket can crack (torque to about 5–7 Nm).
Reconnect the spade connectors to the timer board: red to positive, black to negative. Most BuckGuide 300lb feeders use a quick-connect terminal that resists polarity reversal, but double-check. After wiring, ensure no stray strands touch the board or housing. If you own the remote control model, the motor wiring is identical—only the timer unit differs.
Before reassembling the housing, bench test the feeder with a 12V battery (use a charged battery or a power supply). Connect it briefly—if the spin plate rotates clockwise when viewed from above, the motor is wired correctly. Counter-clockwise indicates reversed polarity; swap the wires if needed. Once verified, reattach the housing cover and reseal with silicone around the edges to keep moisture out. Finally, refill the canister and run a full test cycle.
How Do I Troubleshoot Common After-Installation Issues?
Even with a new motor, problems can arise. The most frequent symptoms and fixes are listed below:
- Motor runs but no feed flows: Check the impeller—it may be slipping on the shaft. Tighten the set screw or replace the impeller if stripped.
- Motor hums but does not spin: Usually a jam or dead spot in the motor. Verify the shaft turns freely by hand; if not, the new motor may be defective. Return it.
- Intermittent operation: Loose wiring or a failing timer board. Check connections and the battery voltage; if below 11.5V under load, replace the battery. Refer to the range test guide if using a remote.
- Overheating: The new motor may draw too much current (over 2 amps). Use a multimeter in series; if it exceeds 2A at no load, swap the motor.
Always confirm the timer settings before assuming a motor fault. A misprogrammed timer can cause the feeder to skip cycles, mimicking a mechanical failure.
What Owners Say About Motor Replacement
Experienced BuckGuide owners praise the simple mechanical design that makes motor swaps straightforward, but many caution about quality control. One owner on a hunting forum noted: “I paid £24.99 for an OEM motor and it lasted only one season. I switched to an aftermarket one from a well-known brand and it’s been running three years strong.” Another said: “The hardest part was getting the old motor off; the bolts had rusted. Use penetrating oil before attempting removal.”
Several owners also highlight that routine winter care—like removing the motor and storing it indoors—extends motor life. For cold-weather tips, read our winter care tips. The consensus is that motor replacement is a 30-minute job for anyone with basic tools, but skipping the protective grease on the shaft leads to premature failure.
Frequently Asked Questions
- Can I use any 12V motor in my BuckGuide 300lb feeder? No. The motor must have a 1/4-inch shaft, 8–10 RPM speed, and match the mounting hole spacing (2.5 inches center to center). Using a wrong motor can damage the impeller or timer board.
- How often should I replace the motor? With proper maintenance, expect 2–4 years of service. Signs of wear include noisy operation, slow starts, or increased current draw (check with a multimeter).
- Do I need to reprogram the timer after a motor swap? No, the timer settings remain unchanged. However, always test the cycle after installation to ensure the motor operates correctly. If the timer resets, refer to our digital timer programming tips.
- Is it safe to use dielectric grease inside the motor? No. Apply grease only to the shaft where it exits the housing; never inside the motor casing. Grease inside can short electrical windings.
- Why does my new motor spin faster than the old one? Some aftermarket motors have a slightly higher RPM (up to 12 RPM). That is usually acceptable but may throw feed farther. If it causes over-spreading, adjust the feeder’s throw plate angle.
- Can moisture damage the motor even if it’s sealed? Yes. The BuckGuide 300lb housing has drainage holes, but condensation can still form. Use a waterproof cover or store the feeder inside during wet seasons. For rainy-area tips, see the remote control setup for weatherproofing.