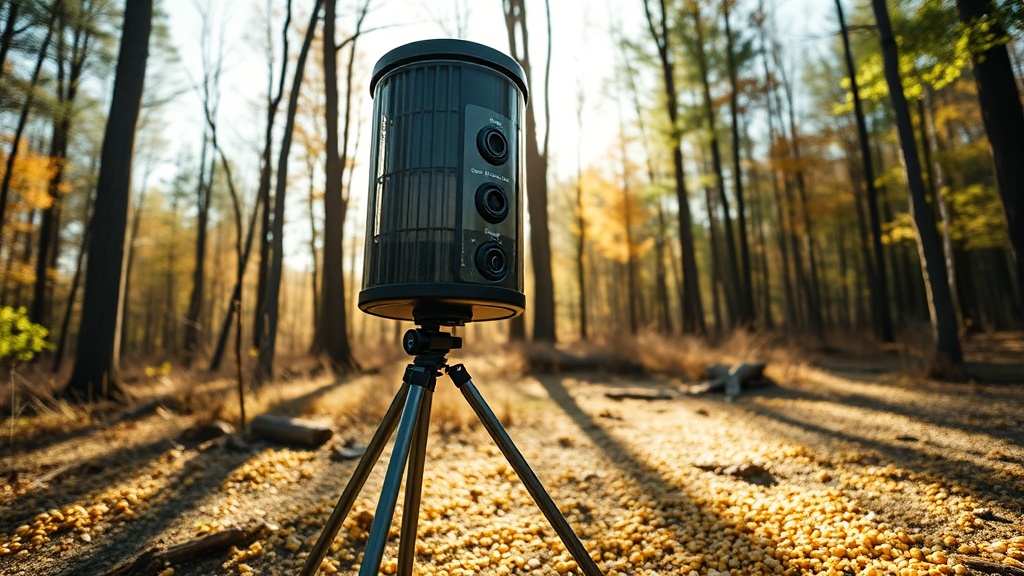
Step-by-Step Timer Setup for BuckGuide 300lb Spin-Cast Feeder
Programming the timer on your BuckGuide 300lb Spin-Cast Feeder is essential for delivering consistent, timed feedings that attract deer while minimizing waste. This guide walks you through each step of the process, from accessing the control panel to fine-tuning your schedule for optimal results.
Whether you’re a first-time user or adjusting for seasonal changes, mastering the timer ensures your feeder operates reliably throughout the year.
What Tools Do I Need for Timer Programming?
Before starting, gather these items to avoid interruptions: the feeder’s user manual, a small flathead screwdriver (for optional adjustment), and fresh batteries (typically four D-cell alkaline batteries). The BuckGuide 300lb Spin-Cast Feeder uses a digital timer board with a six-button interface, so no specialized tools are required beyond basic household items.
Ensure the feeder is placed on stable ground and the hopper is at least half-full to avoid dry-running the motor during testing. For location tips, see Mounting BuckGuide 300lb Spin-Cast Feeder on Steep Terrain to confirm stable placement.
How Do I Access the Timer Control Panel?
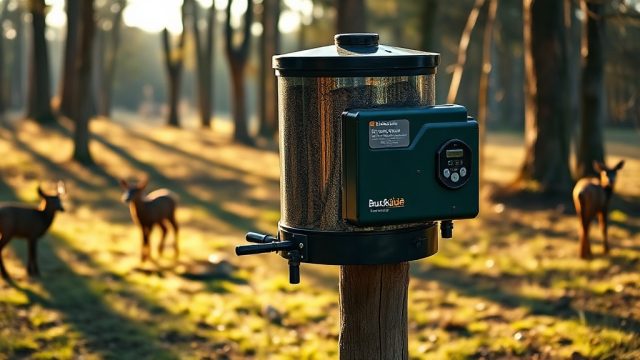
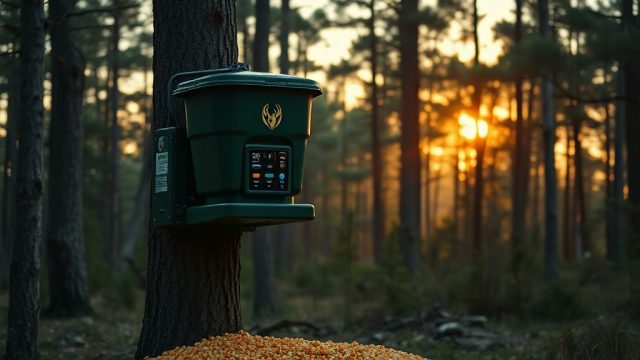
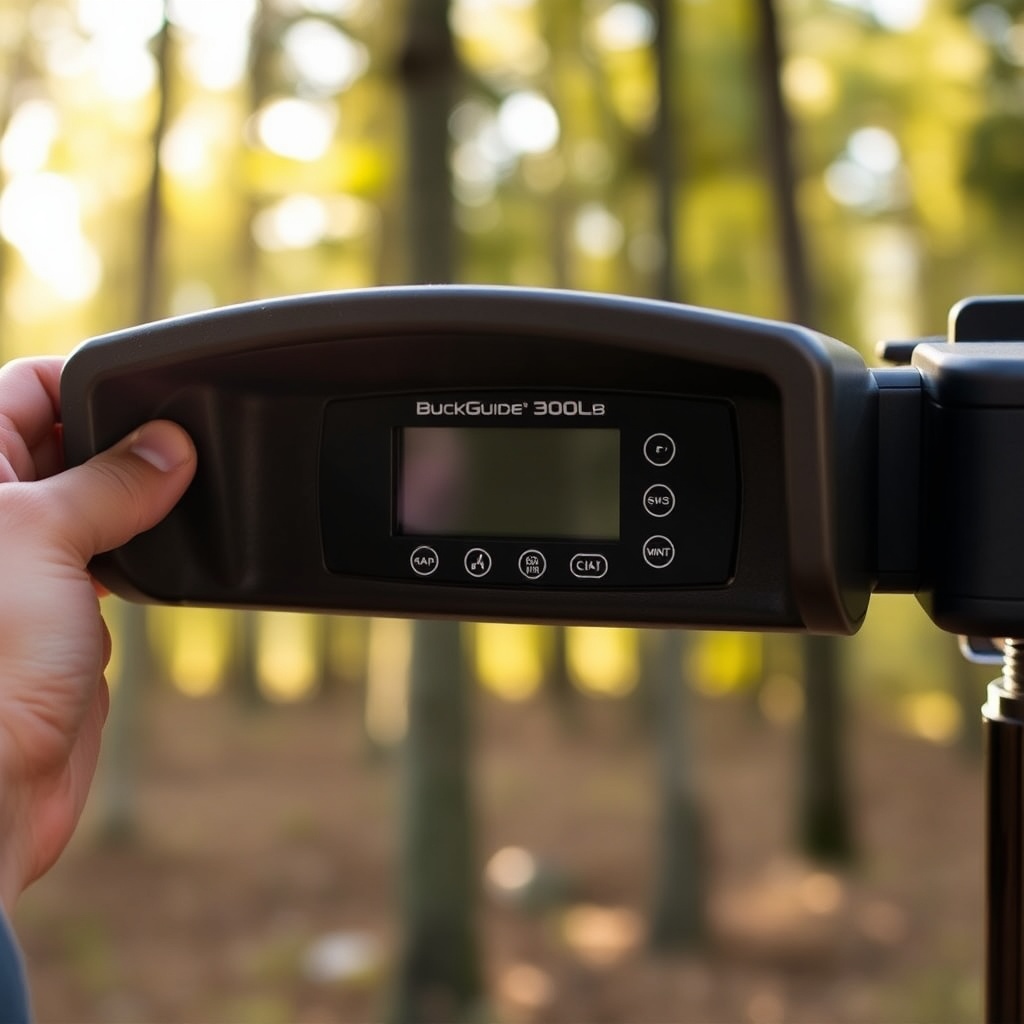
The control panel sits under a weatherproof rubber cover on the feeder’s motor housing. Lift the cover gently using your thumb; it’s held by a small tab. You’ll see an LCD screen and six buttons labeled SET, MODE, UP, DOWN, ON/OFF, and TEST.
Press and hold the SET button for three seconds until the display flashes. This enters programming mode. Release the button, and the current hour setting will blink, ready for adjustment. If the LCD is dim, replace the batteries—low voltage can cause erratic behavior.
How Do I Set the Time and Feed Amount?
With the hour field blinking, press UP or DOWN to set the current hour (use 24-hour format). Press SET to confirm, then repeat for minutes. Next, the display will show “FEED TIMES” with “1” blinking. This is where you program feed events—the BuckGuide 300lb Spin-Cast Feeder supports up to six daily feedings.
For each feed time, use UP/DOWN to set the hour and minutes, then press SET. After setting all desired times, press MODE to proceed to the feed duration (seconds of spin). The default is 6 seconds, which dispenses roughly 2–3 lbs of corn. Adjust using UP/DOWN (range: 1–30 seconds). Press SET to lock each value. For a deeper dive on motor accuracy, read Troubleshooting Motor Spin Issues on BuckGuide 300lb Spin-Cast Feeder.
What Are the Common Timer Settings for Deer Patterns?
Deer feeding habits shift with seasons. Use the table below to adapt your BuckGuide 300lb Spin-Cast Feeder timer settings for maximum attraction:
| Season | Feed Times | Duration (seconds) | Daily Total (lbs) |
|---|---|---|---|
| Spring | 7:00 AM, 5:00 PM | 4–6 | 4–6 |
| Summer | 6:30 AM, 7:30 PM | 3–5 | 3–5 |
| Fall (Pre-Rut) | 6:00 AM, 11:00 AM, 5:00 PM | 6–8 | 6–9 |
| Winter | 8:00 AM, 4:00 PM | 5–7 | 5–7 |
These values assume 5/16-inch corn and a 12V motor. Adjust duration based on local deer density and competition. To protect feed from other wildlife, see How to Squirrel-Proof Your BuckGuide 300lb Spin-Cast Feeder.
How Do I Test and Save the Settings?
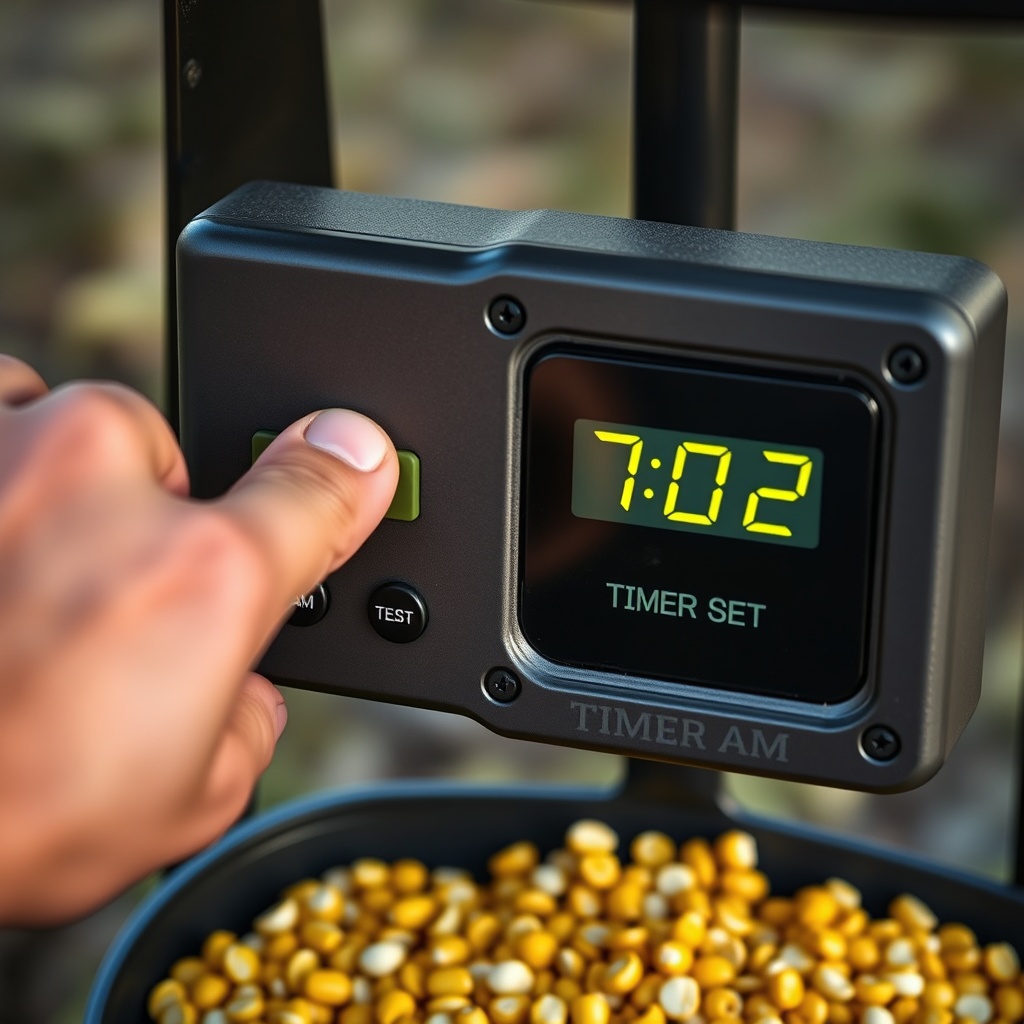
After programming, press the ON/OFF button to exit setup mode. The LCD should show “TIMER SET” and the current time. Press TEST briefly—the spin-cast plate should rotate for the programmed duration (e.g., 6 seconds). Listen for smooth motor operation; a grinding sound may indicate debris. For motor maintenance, refer to the troubleshooting guide linked earlier.
Allow the feeder to run one full cycle (e.g., until the next feed time) to verify timing. Open the hopper lid and watch for feed distribution. If the timer resets unexpectedly, check battery contacts for corrosion or loose wires. For solar-assisted units, review Choosing the Right Solar Panel Size for BuckGuide 300lb Spin-Cast Feeder to ensure power stability.
What Owners Say
Users of the BuckGuide 300lb Spin-Cast Feeder consistently praise the timer’s simplicity. One property manager from Ohio noted, “Programming took five minutes, and the six-feed capacity matches our herd’s patterns perfectly.” Another hunter from Texas highlighted battery life: “With four D-cells, I get six weeks of operation, even with daily spins.”
Some owners recommend pairing the timer with a solar panel to extend runtime in remote locations. Common feedback includes verifying the 24-hour clock format—a minor adjustment for first-timers. For cold-weather mounting tips, see Optimal Solar Panel Mounting Angle for Winter on BuckGuide 300lb Spin-Cast Feeder.
Frequently Asked Questions
Q1: How many feed times can I program on the BuckGuide 300lb Spin-Cast Feeder?
You can set up to six distinct feed times per day. Each can have a separate duration (1–30 seconds) for customized distribution.
Q2: The timer display shows “EE” error. What does this mean?
This indicates a memory or battery issue. Replace batteries with fresh alkaline cells and reset the timer by pressing SET for 10 seconds. If persists, contact support.
Q3: Can I use this timer with a solar panel?
Yes, the BuckGuide 300lb Spin-Cast Feeder timer supports external 12V solar panels. For optimal performance, pair it with a 10–20 watt panel. See Choosing the Right Solar Panel Size for details.
Q4: Why does my timer revert to default settings each morning?
This often results from a weak battery or intermittent solar charging. Replace batteries or adjust Optimal Solar Panel Mounting Angle to ensure consistent power.
Q5: How do I set different durations for different feeds?
During programming, each feed time allows a separate duration entry. After setting the time for feed 1, press MODE to set its seconds, then repeat for feeds 2–6.
Q6: Will heavy rain damage the timer panel?
No, the rubber cover is designed to be weatherproof. Always close it securely after adjustments. If moisture enters, dry the panel with a cloth and replace the battery compartment cover seal.