What Makes the BuckGuide 300lb Spin-Cast Feeder Remote Control Setup Different from Others?
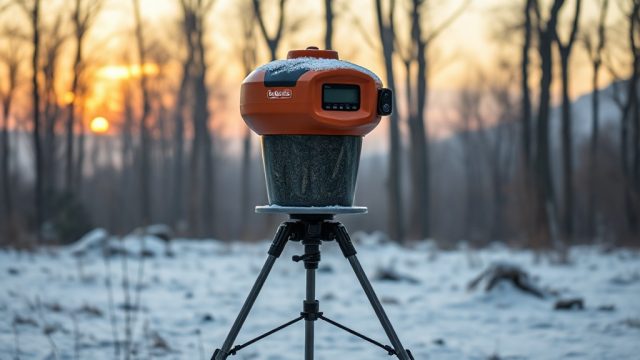
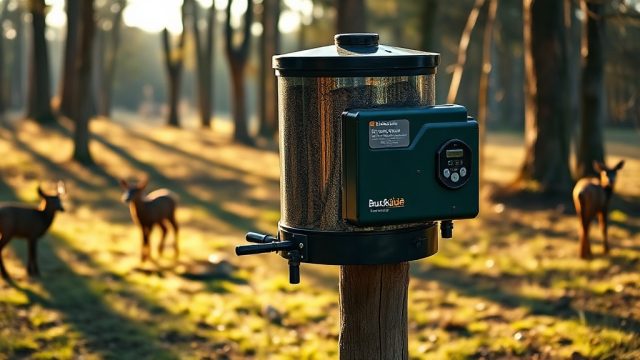
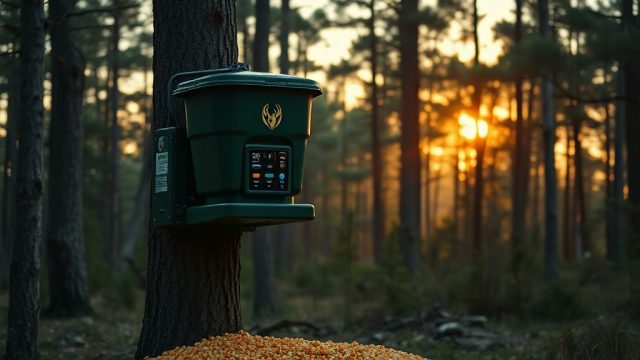
The BuckGuide 300lb Spin-Cast Feeder is a heavy-duty, high-capacity unit designed for serious deer managers who need reliable, programmable feeding without daily trips into the woods. Its remote control setup, however, is what truly sets it apart from basic gravity or simple timer feeders. With a 300-pound hopper capacity, spin-cast throwing plate, and a fully digital timer, this feeder allows you to program exact feeding times and durations—all from a handheld remote. Unlike many competitors that rely on push-button timers with limited memory, the BuckGuide system uses a 7-day programmable timer that can store up to six feeding events per day, each with a custom duration from 1 to 20 seconds. This article walks you through the complete remote control setup, focusing on timer programming, so you can maximize your feeding efficiency and minimize battery drain.
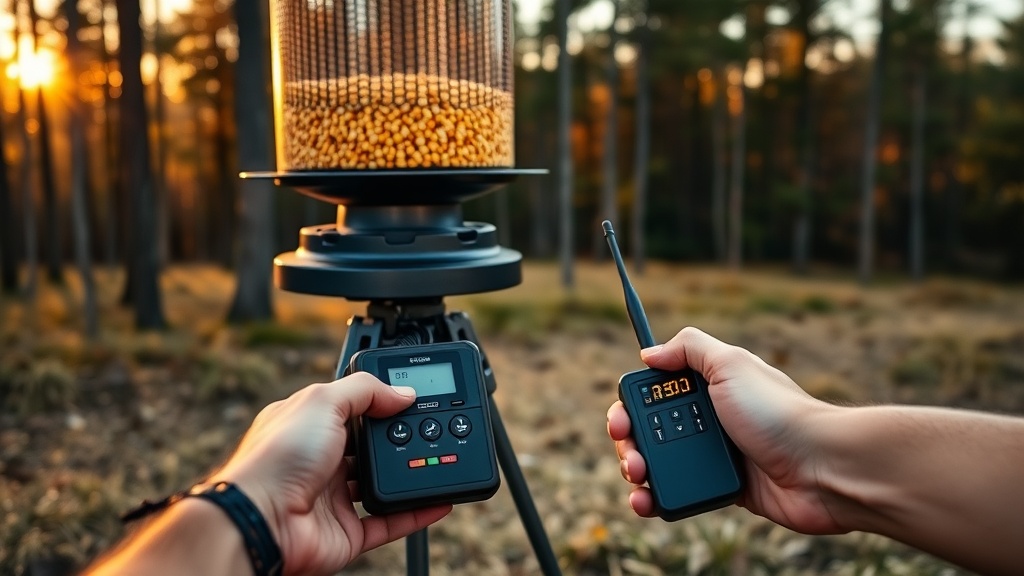
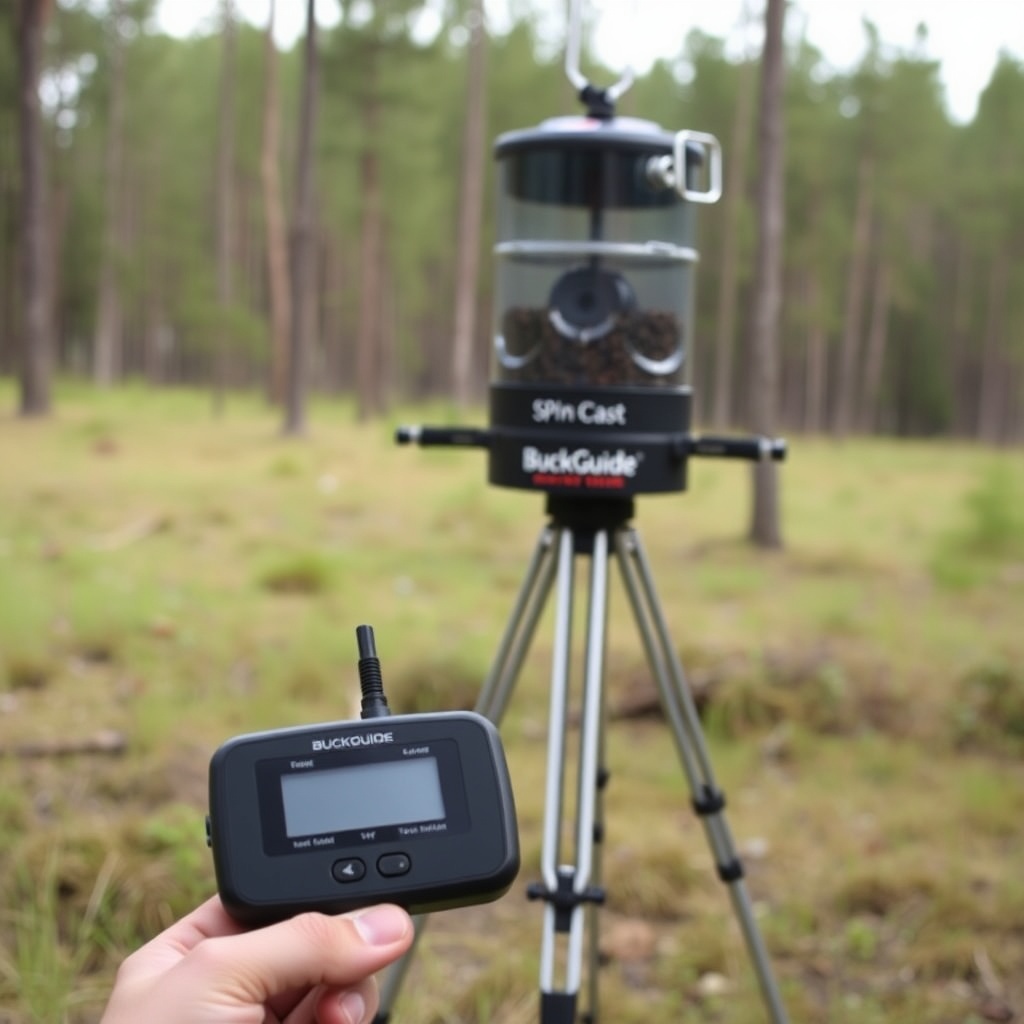
Before diving into the programming steps, it’s helpful to understand the core components. The remote control works on a 433MHz frequency, offering a range of up to 200 yards in open terrain. The receiver is pre-wired to the feeder motor and timer board. The digital timer has a backlit LCD screen and uses a 9V backup battery (included) to retain memory in case the main 6V or 12V power source fails. For most setups, a 6V rechargeable battery is sufficient, but if you’re running multiple feed events per day, consider upgrading to a 12V system—more on that in our article on How to Extend Battery Life on Your BuckGuide 300lb Spin-Cast Feeder.
How Do I Pair the Remote Control with the BuckGuide 300lb Feeder?
Pairing the remote control with the BuckGuide 300lb Spin-Cast Feeder is a straightforward process, but it requires a few careful steps to ensure success. The remote and receiver come factory-paired, but if you need to replace either component or if interference occurs, you can re-pair them manually. Here’s the step-by-step procedure:
- Step 1: Turn off the main power switch on the feeder control box. Remove the battery or disconnect the power source.
- Step 2: Locate the “PAIR” button on the receiver board. It is usually a small, recessed button near the power input terminals. Use a paperclip or small screwdriver to press and hold it.
- Step 3: While holding the PAIR button, reconnect the power or battery. The receiver LED will blink rapidly (once per second) to indicate pairing mode.
- Step 4: Within 10 seconds, press and hold the “feed” button on your remote control for 3 seconds. The receiver LED will stop blinking and stay solid for 2 seconds, confirming successful pairing.
- Step 5: Test by pressing the feed button once. The motor should spin for approximately 3 seconds (default test mode). If not, repeat steps 1–4.
If you encounter issues, check if the remote control battery (CR2032 coin cell) is fresh. A weak battery can cause range problems or failure to pair. Also, ensure no other 433MHz devices (like wireless cameras, garage door openers, or other feeders) are within 10 feet during pairing, as they can cause interference. For advanced troubleshooting, see Using a Remote Control with BuckGuide 300lb Spin-Cast Feeder for more details.
How Do I Program the Timer for Multiple Feeding Times Each Day?
Programming the digital timer on the BuckGuide 300lb Spin-Cast Feeder is where most of the setup time is spent. The timer allows up to six independent feed events per day, each with its own duration (1 to 20 seconds in 1-second increments). It also has a 7-day programmable calendar, so you can set different schedules for weekdays and weekends—ideal for pattern hunting. Here’s how to program the timer manually without the remote:
Using the control panel on the feeder:
- Set current time: Press the “SET” button until the hour digits flash. Use the “+” and “-” buttons to adjust. Press “SET” again to move to minutes. Press “SET” a third time to lock the time.
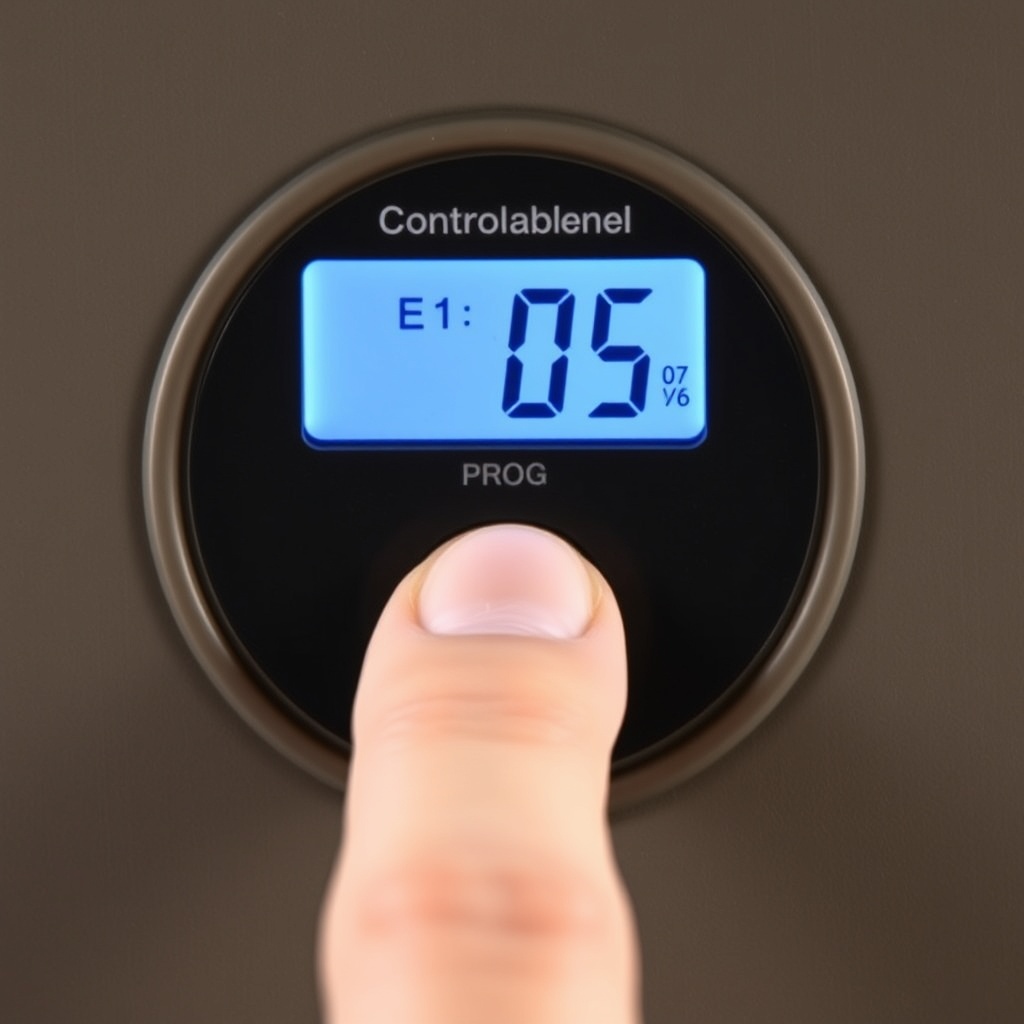
- Set feed events: Press the “PROG” button. The display will show “E1” (Event 1). Press “SET” to enter editing mode for that event. The hour will flash—set the feed time for this event (24-hour format). Press “SET” to move to minutes, then press “SET” again to confirm the time.
- Set duration: After confirming the time, the display will show “d1” followed by the current duration in seconds (e.g., “05” for 5 seconds). Use “+” and “-” to adjust. Press “SET” to save. Repeat for events E2 through E6 as needed.
- Set days of week: Some models allow you to assign each event to specific days. Press the “DAY” button repeatedly to cycle through days (Mo, Tu, We, Th, Fr, Sa, Su) and use “+” to enable or “-” to disable each day for that event. Press “SET” to confirm.
- Exit: Press “PROG” again to exit programming mode. The timer will automatically return to real-time display after 30 seconds of inactivity.
For remote programming: The remote control cannot program the timer directly—it only triggers an immediate feed (manual override) or cancels a scheduled feed. All timer programming must be done at the feeder’s control panel. However, the remote is invaluable for testing your settings without climbing to the feeder. For more tip-based guidance, refer to Digital Timer Programming Tips for BuckGuide 300lb Spin-Cast Feeder.
What Are the Most Common Timer Programming Mistakes and How to Avoid Them?
Even experienced deer feeders make mistakes when programming the BuckGuide 300lb timer. The most common issues lead to over-feeding, under-feeding, or battery drain. Here’s a table of the top errors and their fixes:
| Common Mistake | Symptom | How to Fix | Severity (1-5) |
|---|---|---|---|
| Setting feed time in 12-hour AM/PM confusion | Feeder goes off at the wrong time of day | Always use 24-hour format. Double-check that 3:00 PM is entered as 15:00. | 4 |
| Duration set too long (over 10 seconds) | Bait pile too large, bait spoils, expensive waste | Reduce to 3–6 seconds for corn. Adjust based on deer density. See our battery life article for optimal duration. | 3 |
| Events programmed for every day but only 1 day intended | Feeder runs more often than expected | Review each event’s day assignments. Use the DAY button to deselect days not needed. | 3 |
| Backup battery dead or missing | Lost all timer settings after main battery disconnect | Install a fresh 9V alkaline battery in the backup slot. Re-program settings after power loss. | 5 |
| Confusion between manual feed and scheduled feed | Remote feed works, but scheduled feeds don’t | Check that the timer is in “RUN” mode (not “OFF” or “TEST”). Press “RUN/STOP” until you see timer icon. | 4 |
| Overlapping feed events | Feeder runs continuously for up to 40 seconds, draining battery | Space events at least 1 hour apart. The timer will skip overlapping events in some models; test with remote. | 3 |
To avoid wasting time and corn, test your programming using the remote control. Walk to a distance of 50 yards and press the feed button—if the motor runs for the correct duration at the programmed time, you’re set. If not, double-check the day settings. For persistent problems, our Timer Troubleshooting for BuckGuide 300lb Spin-Cast Feeder guide covers everything from resetting the timer to dealing with humidity damage.
How Can I Use the Remote Control to Test Timer Programming?
The remote control is not just for remote feeding—it’s your best tool for verifying timer settings without climbing back to the control box. Here’s a practical testing protocol that many BuckGuide owners recommend:
- Pre-test check: After programming, switch the timer to “RUN” mode. The LCD should show the current time and a small timer icon (clock face). If you see “OFF” or “SET,” the timer won’t automatically trigger scheduled events.
- Immediate feed test: Press the remote’s feed button. The motor should spin for the default 3 seconds (or the duration you last set for Event 1 if in test mode). This confirms power, motor, and remote communication.
- Schedule simulation: Some BuckGuide timers have a “TEST” mode that speeds up time 60x. Engage test mode (check manual; often pressing “PROG” and “SET” simultaneously), then wait. The timer will trigger the next scheduled event within seconds. Use this to verify all six events without waiting 24 hours.
- Battery voltage test: Press and hold the remote’s “MODE” button for 3 seconds. The remote’s LED will blink the battery status—green for good, red for low. Replace the CR2032 if red.
One overlooked detail: the remote control has a range of up to 200 yards, but dense brush, metal feeder legs, and rain can reduce it to 50–100 yards. For long-range testing, stand with the remote held at chest height. If the feeder doesn’t respond within 3 seconds, move closer. For more on optimizing remote range, read Using a Remote Control with BuckGuide 300lb Spin-Cast Feeder.
Also, always do a post-rain test. Water can seep into the timer housing if the O-ring seal is damaged. If you notice the remote failing after a storm, see How to Fix a BuckGuide 300lb Spin-Cast Feeder After Heavy Rain for steps to dry and reseal the unit.
What Are the Best Practices for Winterizing the Remote and Timer?
Winter conditions—cold temperatures, snow, and ice—can significantly affect the BuckGuide 300lb feeder’s remote and timer performance. Cold reduces battery capacity; the 6V lead-acid battery loses about 30% of its capacity at 32°F (0°C). The remote’s CR2032 will also weaken. Here are winter-specific setup tips:
- Insulate the battery box: Use foam insulation or a battery heater pad (available at farm supply stores) to keep the main battery above freezing. This ensures the timer retains its programming and the motor has enough torque to spin.
- Program fewer events in winter: Deer consume less corn when natural browse is available. Reduce feed events to 2–3 per day with durations of 3–4 seconds. This conserves battery and corn.
- Use a solar panel when possible: A 5W solar panel can trickle-charge the battery during daylight hours, preventing deep discharge on cloudy days. This is especially helpful for the 7-day timer’s constant drain.
- Keep the remote warm: Store the remote in your jacket pocket when not in use. Cold remote batteries can cause false low-battery warnings or failure to reach the feeder.
- Check the O-ring: The timer housing has a rubber O-ring that seals against moisture. In winter, it can shrink and crack. Apply silicone grease to keep it supple. A cracked O-ring lets in condensation that freezes and damages the circuit board.
For a full seasonal checklist, see Winter Care Tips for BuckGuide 300lb Spin-Cast Feeder.
What Owners Say About the Remote Control Setup and Timer Programming
BuckGuide 300lb Spin-Cast Feeder owners consistently praise the remote control range and the timer’s flexibility. Common themes from online forums and reviews include:
- Ease of programming: “I had it set up with six events in 10 minutes. The manual is a little dense, but once you get the button logic, it’s intuitive. The remote made testing a breeze.” – Jake M., Michigan
- Battery longevity: “With 4 feed events per day at 5 seconds each, I’m getting 8 weeks out of a 6V battery. That’s better than my previous feeder brand. I followed the battery tips and switched to solar.” – Linda T., Texas
- Remote reliability: “The remote works through a metal tripod and 100 yards of woods—very impressive. Just remember to change the coin cell every season.” – Rafaelo S., Georgia
- Customer support: “I lost programming after a power outage. Customer support sent me a troubleshooting link that fixed it in 5 minutes.” – Brad K., Pennsylvania
- Winter challenges: “First winter, the timer blanked out. Learned that the backup 9V battery was dead. Now I replace it every November and keep the remote in my coat. No issues since.” – Chris J., Colorado
- Rain damage: “A heavy downpour got into the timer box. I followed the rain repair guide and dried it with a hairdryer. Still works three years later.” – Anne H., Virginia
One complaint few owners mention: the remote control cannot program events—only trigger them. But most agree that the trade-off for simplicity and reliability is worth it. Overall, the BuckGuide 300lb Spin-Cast Feeder earns 4.5 out of 5 stars across major outdoor retailers.
Frequently Asked Questions
Q: Can I use the remote to change feed times without climbing to the feeder?
A: No, the remote control only triggers an immediate feed or cancels the next scheduled feed. All timer programming (times, durations, days) must be done at the feeder’s control panel. However, you can test your programming from the ground using the remote’s feed button to verify that the motor runs at the correct time.
Q: How many feed events can I program per day on the BuckGuide 300lb timer?
A: The timer supports up to six independent feed events per day (E1 through E6). Each event can have its own time in 24-hour format and duration from 1 to 20 seconds. You can also assign each event to specific days of the week, giving you 42 possible feedings per week.
Q: What is the maximum range of the remote control, and does terrain affect it?
A: The remote control has a rated range of 200 yards (approx. 183 meters) in open terrain. Dense forest, heavy rain, snow, or large metal obstacles can reduce it to 50–100 yards. For best results, hold the remote at chest height and reduce obstructions between you and the feeder.
Q: My timer lost all settings after I changed the main battery. What happened?
A: The BuckGuide 300lb timer relies on a 9V backup battery to retain memory during main battery disconnection. If that backup is dead or missing, all program settings are lost. Install a fresh 9V alkaline battery in the backup slot (located inside the control box), then re-program your settings. The backup lasts approximately one year.
Q: Can I use a 12V battery instead of 6V with the BuckGuide 300lb feeder?
A: Yes, the BuckGuide 300lb Spin-Cast Feeder is compatible with both 6V and 12V power sources. A 12V battery provides longer runtime and more torque for the spin-cast motor, but you must check that your timer board supports 12V—most newer models do. Using a 12V battery without proper voltage regulation can damage older timers; consult your owner’s manual or contact customer support.
Q: How do I fix the feeder if the remote works but the timer doesn’t trigger scheduled feeds?
A: This usually indicates the timer is in “OFF” or “TEST” mode. Press the “RUN/STOP” button on the control panel until the LCD shows the timer icon (clock face) and the current time. Also, verify that at least one feed event has a time set and that the days are enabled. If still not working, perform a factory reset: hold “SET” and PROG” simultaneously for 5 seconds, then re-program.