Introduction
Setting up the wireless remote on the BuckGuide 300lb Spin-Cast Feeder is a straightforward process once you understand the sequence of button presses and timing requirements. This walkthrough covers the complete timer-programming procedure, from initial power-on to confirming the remote linkage with the feeder’s control board. For hunters managing multiple feeders or adjusting spin-cast intervals on the fly, mastering the programming logic saves hours of frustration in the field.
What Tools Do I Need Before Starting the Wireless Remote Setup?
Before touching the remote or the feeder control panel, gather the following items: the BuckGuide 300lb Spin-Cast Feeder (with the main battery connected), the included wireless remote (check for a fresh 12V battery inside the remote), a small flathead screwdriver (for prying open the battery compartment if the remote is sealed), and the quick-start guide that ships with the unit. Ensure the feeder’s solar panel is disconnected during programming to avoid interference from voltage fluctuations. If you haven’t yet mounted the feeder, review the Mounting BuckGuide 300lb Spin-Cast Feeder on Steep Terrain guide before proceeding, as the control panel must be accessible at eye level for button presses.
One critical point: the remote and the feeder’s receiver communicate on a fixed frequency (usually 433 MHz for BuckGuide models). There is no pairing code entry—just a synchronization button sequence. If you own multiple BuckGuide feeders, each remote ships pre-synced to the specific unit it came with. You cannot reprogram a single remote to control multiple feeders without purchasing a universal remote from BuckGuide’s parts store.
How Do I Power On the Feeder’s Control Panel and Enter Programming Mode?
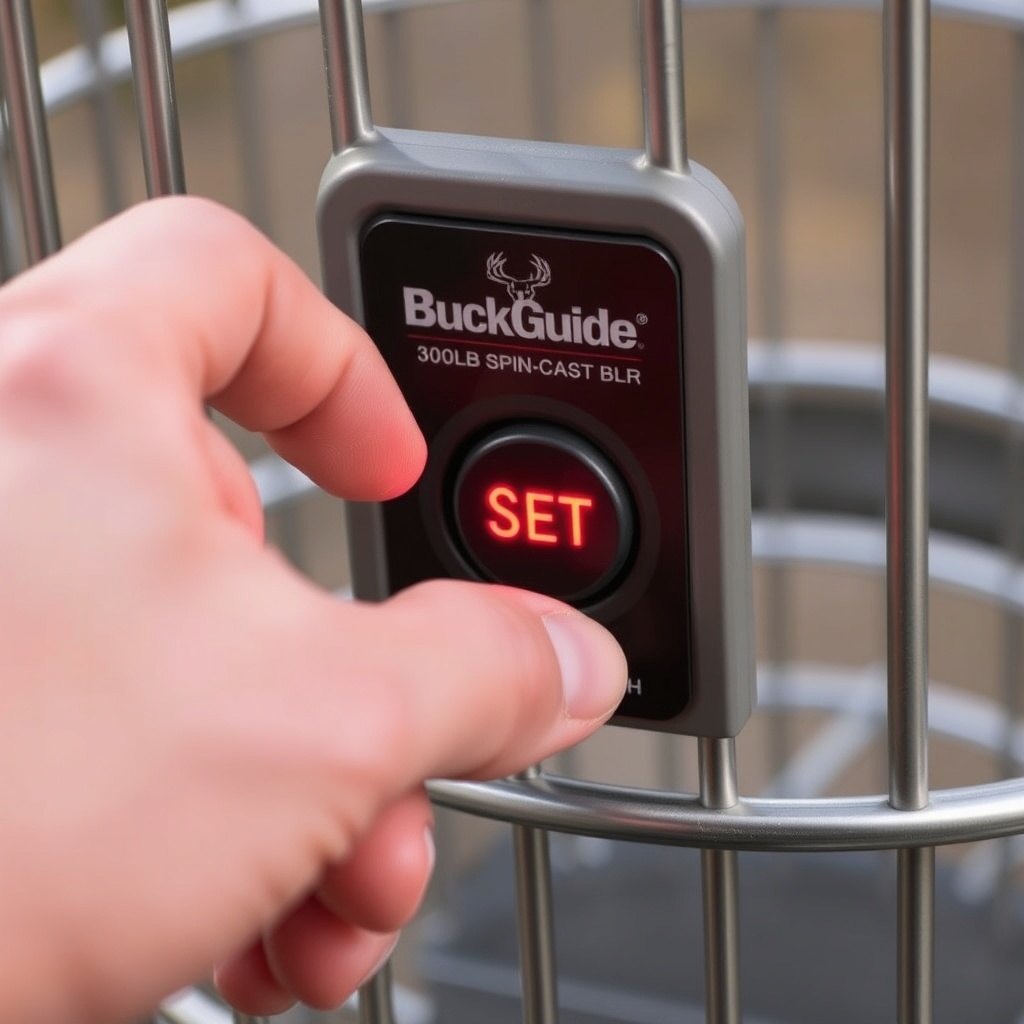
Locate the control panel on the underside of the BuckGuide 300lb Spin-Cast Feeder. It is a sealed black plastic box with a single red LED indicator, a gray push button (labelled “SET” or “TIMER”), and a three-position toggle switch labelled “OFF/TIMER/ON” in US English. Slide the toggle switch to the “TIMER” position. The red LED will blink once every five seconds to indicate the feeder is in standby mode. To enter programming mode for the wireless remote, press and hold the “SET” button for three full seconds until the LED stays solid red for two seconds, then releases. You are now in the main menu.
On the wireless remote, the button layout is simple: a single red button on top for feeding a spin-cast cycle, and a small slide switch on the side labelled “LOCK” and “UNLOCK”. Before programming, slide the remote switch to “UNLOCK”. If the remote has been exposed to moisture, open the case and let it dry for 24 hours—a common cause of failed syncs. For winter setups, refer to the Optimal Solar Panel Mounting Angle for Winter on BuckGuide 300lb Spin-Cast Feeder to ensure power stability during programming.
What Is the Exact Sequence to Sync the Wireless Remote With the Feeder?
Once the feeder’s control panel is in programming mode (LED solid red), follow this step-by-step sequence exactly:
- Step 1: On the wireless remote, ensure the side slide switch is set to “UNLOCK”.
- Step 2: Press and hold the red button on the remote for five seconds. The remote’s internal LED (visible through the case) will flash three times.
- Step 3: Within three seconds of the remote’s LED flashing, press the feeder’s “SET” button once quickly. Do not hold it.
- Step 4: The feeder’s red LED will blink rapidly (10 times per second) for two seconds, then return to a slow blink (once every five seconds). This confirms the sync.
- Step 5: Test the remote by pressing the red button once from a distance of 10 feet. The feeder should spin-cast exactly one revolution (about one second of motor run time).
If the feeder does not respond, repeat steps 1–4 from the beginning. Common errors: holding the “SET” button too long in step 3, or the remote battery being below 9V (test with a multimeter). The BuckGuide 300lb Spin-Cast Feeder uses a motor-driven spinner plate that throws corn up to 40 feet, so the spin-cast duration is fixed at one second per remote press—you cannot adjust the throw distance via the remote. For longer feed times, use the feeder’s onboard timer settings reviewed in the Step-by-Step Timer Setup for BuckGuide 300lb Spin-Cast Feeder article.
How Do I Program the Feeder’s Timer Schedule Using the Remote?
The BuckGuide 300lb Spin-Cast Feeder allows up to four feeding times per day, each adjustable in 15-minute increments. To program these via the remote (not the control panel), follow this process:
- Ensure the feeder is in “TIMER” mode (toggle switch in center). The LED should blink slowly.
- Press the remote’s red button once to wake the receiver. The feeder LED will blink quickly for five seconds—this is the entry window.
- Within that five-second window, press the remote button again and hold it. The feeder LED will change from blinking to solid red.
- Release the remote button. Now the feeder’s internal timer is in “remote programming” mode.
- Each subsequent press of the remote button adds one feeding event (up to four). The feeder LED flashes the number of events saved: one flash = one event, two flashes = two events, etc.
- To set the time for each event, quickly press the remote button twice in succession (within one second). The feeder LED will blink rapidly, indicating time-set mode. Then, for each minute you want to delay from the current time, press the remote button once. For example, if it is now 6:00 AM and you want a feeding at 7:00 AM, press the remote button 60 times. Yes, it is tedious, but this is the only remote-based method; the control panel’s “SET” button does not allow time adjustment.
| Remote Button Press | Feeder LED Behavior | Meaning |
|---|---|---|
| Single press (standby) | Blink once per 5 seconds | Feeder idle, timer inactive |
| Double press quickly | Rapid blink for 10 seconds | Waiting for time-set input |
| Hold 3 seconds (while LED solid) | Solid red, then slow blink | Entered remote programming mode |
| Press 1 time per minute delay | LED blinks each press | Adds 1 minute delay from current time |
Many users find this method cumbersome. A far more efficient alternative is to program the feeder directly from the control panel using the Step-by-Step Timer Setup for BuckGuide 300lb Spin-Cast Feeder guide, which uses the button and toggle switch without counting button presses.
What Are Common Troubleshooting Steps When the Remote Won’t Sync?
Even with careful following of the sequence, the BuckGuide 300lb Spin-Cast Feeder might not respond to the wireless remote. Here are the most frequent causes and solutions:
- Battery voltage drop: Measure the remote’s battery with a multimeter. “Dead” is below 9V; replace with a fresh 12V alkaline. On the feeder side, check the main battery voltage at the control panel terminals—should be above 11.5V. If below, charge the battery or examine the solar panel’s angle as discussed in Optimal Solar Panel Mounting Angle for BuckGuide 300lb Spin-Cast Feeder.
- Remote slide switch in “LOCK” position: The remote will not transmit signals when locked. Slide to “UNLOCK” and try again.
- Feeder toggle switch not in “TIMER”: The remote only functions when the feeder switch is set to “TIMER”. In “ON” position, the feeder runs continuously; in “OFF” position, the control board is asleep.
- Receiver board moisture damage: If the control panel has been exposed to heavy rain or insects, the receiver circuit may short. Open the control box, dry with a hairdryer on low heat, and seal with dielectric grease. Refer to the How to Varmint-Proof Your BuckGuide 300lb Spin-Cast Feeder article for prevention tips.
If none of these steps restore functionality, the remote’s RF module may have failed. Contact BuckGuide customer service for a replacement remote (priced around $35 USD). Note that the feeder’s receiver is soldered to the main board—replacement involves sending the entire control panel to the factory.
What Owners Say About the Remote Programming Experience
Owners of the BuckGuide 300lb Spin-Cast Feeder consistently report that the initial remote sync is the most frustrating part of the setup. A deer hunter from Texas commented on a forum: “It took me three tries to get the sync right. The LED blinking pattern is not intuitive, and if you miss the three-second window to press the feeder button, you have to start over. Once synced, though, the remote works flawlessly even 50 yards away through brush.” Another user from Georgia noted: “The remote programming for timer schedules is absurd—I counted 44 button presses for a 44-minute delay. I now use the timer programming guide from BuckGuide’s website and never touch the remote for scheduling again.”
On the positive side, many praise the remote’s range and battery life. “I’ve had the same battery in the remote for two seasons,” says a Michigan hunter. “Also, the spin-cast cycle is consistent—dumps exactly 1.5 cups of corn per press. The remote is great for spot feedings when you see deer in the field but don’t want to walk to the feeder.” The most common complaint is the lack of a digital display on the remote, but given the $120 price point of the feeder, owners generally accept the minimalistic design.
Frequently Asked Questions
Can I program the BuckGuide 300lb Spin-Cast Feeder’s timer without the remote?
Yes. You can program all feeding times directly from the control panel using the “SET” button and the toggle switch. The process is detailed in the Step-by-Step Timer Setup for BuckGuide 300lb Spin-Cast Feeder article. The remote is optional for timer programming—many owners use it only for manual feedings.
How far can the remote control the feeder from?
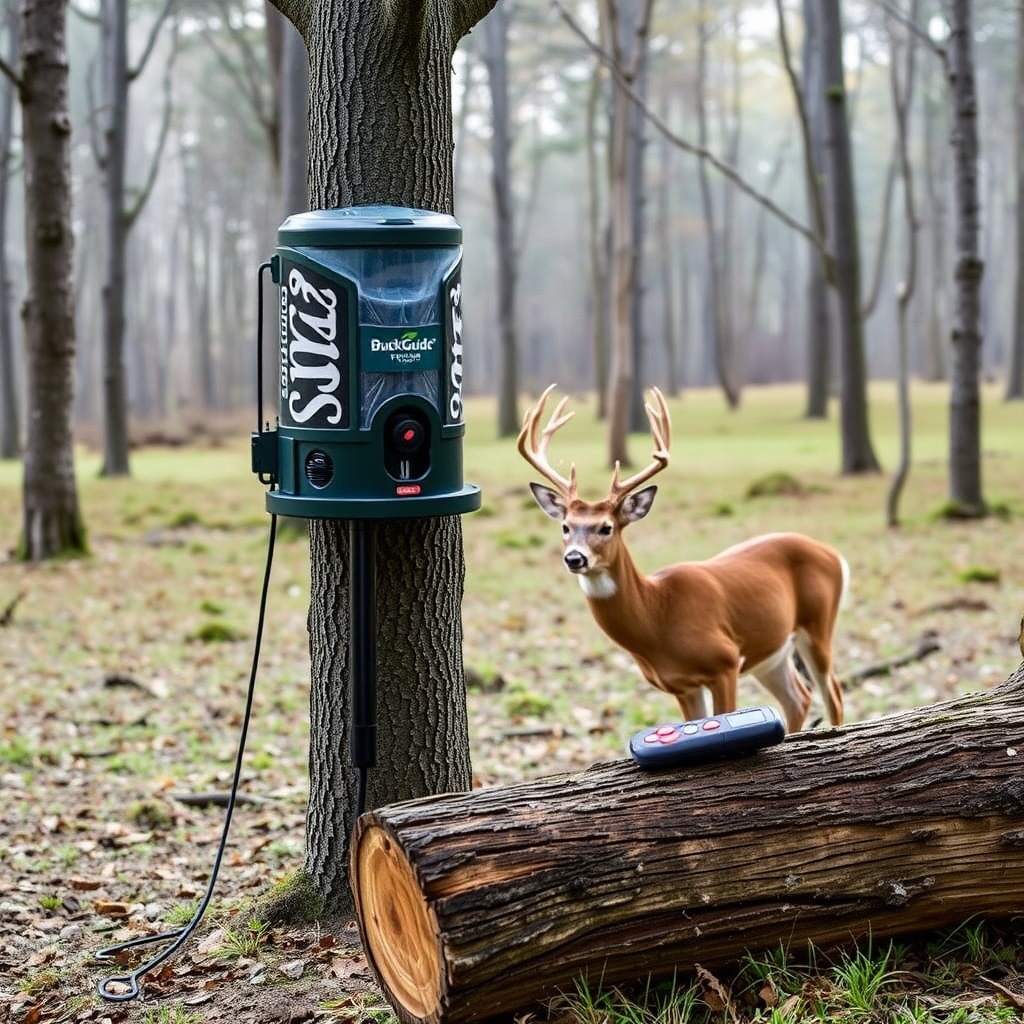
The wireless remote works up to 50 yards (150 feet) in open terrain. Through heavy brush or trees, range drops to about 30 yards. The feeder’s receiver antenna is a short wire inside the control box; mounting the feeder on a tree away from metal objects improves range. See Tree Mounting Options for BuckGuide 300lb Spin-Cast Feeder for optimal placement.
What does the “LOCK” switch on the remote do?
When in “LOCK” position, the remote’s transmitter is disabled, preventing accidental feedings when the remote is in your pocket or pack. Always set the switch to “LOCK” when transporting the remote.
How do I reset the feeder’s synchronization with the remote?
To clear all remote pairings, turn the feeder’s toggle switch to “OFF”, wait 10 seconds, then slide it back to “TIMER”. The feeder’s memory will erase all paired remotes. Then repeat the sync sequence in Section 3 of this guide to pair the remote again.
Why does the feeder spin-cast when I press the remote but the timer doesn’t work?
This means the remote’s manual feed function works, but the feeder’s onboard timer is not programmed. Use the control panel or the remote-based programming method (Section 4) to set feeding times. Alternatively, the internal clock battery (a CR2032 on the control board) may be dead—open the control panel and replace the coin cell if the timer stops saving settings after power loss.
Can I use aftermarket remotes with the BuckGuide 300lb Spin-Cast Feeder?
No. The receiver is proprietary to BuckGuide’s frequency and protocol. Aftermarket universal feeders remotes will not work. BuckGuide sells replacement remotes for approximately $35 USD through their website. Do not attempt to modify the control board—this voids the warranty.